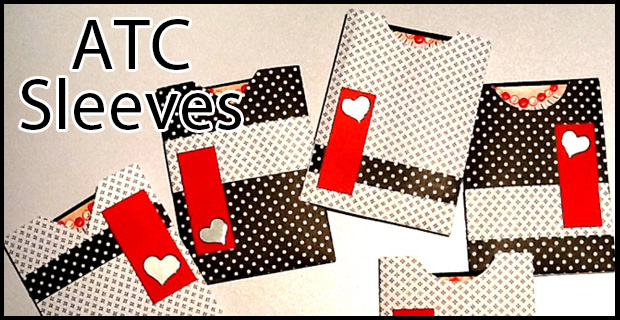
 In my last posting I mentioned these little paper sleeves or envelopes (without a flap) that I sometimes make to present my Artist Trading Cards in. Here’s a super quick how-to for making them:
Steps to Make ATC sleeves:
- Cut a piece of decorative paper to size: 6″ x 4″
- With your paper in a landscape position, you’ll make two score lines.
- For Center Seam, score from the top to the bottom at 1-1/2″ and at 4-1/4″
- Turn your paper in portrait direction and score at 1/2″ to make what will be your bottom flap.
- Cut off the two outside corner pieces starting where the score lines intersect.
- Fold your paper on each of the score lines so all the flaps lay inward.
- Fold the bottom flap up and using double sided tape or strong paper glue – affix the left flap of the sleeve to the bottom flap.
- Then affix the right flap of the sleeve to the bottom flap and to the opposite side flap where they meet near the center.
- Cut half a circle or half a diamond shape from the flap opening. This will make it easier to slip your card in/out of the sleeve.
- Decorate the outside of your sleeve as desired.
Note: If you want a seamless sleeve make your first two score line flaps at: 1/2″ and at 3-1/4″. The bottom flap will be scored the same as above at the 1/2″ mark. All the folds are the same.
That’s all there is to it. Quick, easy, and oh so cute!
Video Tutorial:
Here’s a video tutorial showing you the steps to make the ATC sleeves:
Have fun!
~Cindy


Great little sleeve and now I have all the measurements if I need to make one. tfs